Quick Pre-Ride Safety Checks That Take Less Than 5 Minutes
In Malaysia, where sudden rain and heavy traffic are part of daily commuting, a quick pre-ride safety check can be the difference between a smooth ride and a dangerous situation. You don’t need a mechanic’s certificate—just five minutes and a critical eye. This guide walks you through the essential checks every scooter or motorbike rider should do before hitting the road.
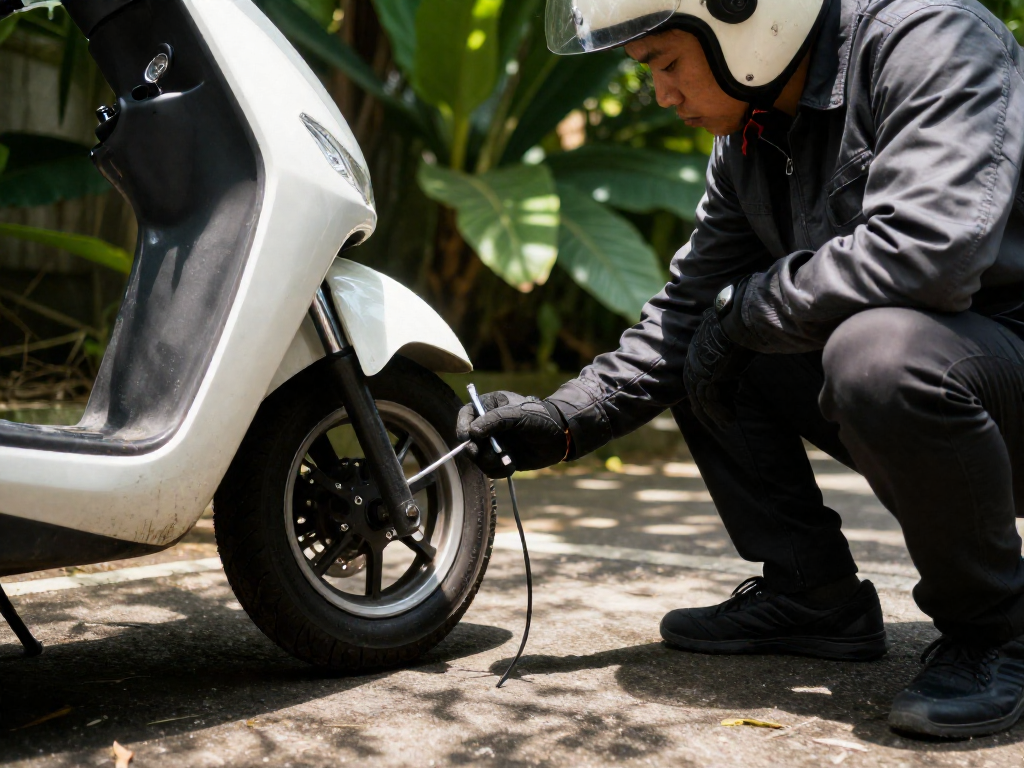
Tires & Wheels – Your Contact with the Road
Before you start the engine, the most critical check is your tyres. They are your only contact with the road, and in Malaysia’s rain, good tread and correct pressure are what keep the rubber side down.
Give each tyre a hard look. A gauge check once a week is best, but even a visual scan will catch a dangerously soft tyre. Under‑inflated rubber flexes too much, builds heat, and reduces wet grip. If a tyre looks even slightly low, pump it up before riding.
Next, examine tread depth. The law allows 1.6mm, but on wet Malaysian roads you’ll want far more. Replace tyres once the grooves reach about 3mm. Run your eyes along the tread and sidewalls: cuts, bulges, or embedded nails are a red flag. Uneven wear may point to suspension or pressure problems, so investigate further.
Finally, check that both valve caps are present and not cracked. A missing cap lets in dirt and moisture that slowly leak air. All of this takes less than five minutes, and it’s the cheapest safety habit you can adopt.
Brakes – The Lifesaver Check (Deep Dive)
Before you twist the throttle, squeeze both brake levers and press the rear brake pedal. They should meet firm resistance immediately—a spongy or sinking feel means air in the lines or a fluid leak, and riding like that is a gamble you don’t want to take on Malaysian roads.
Check the brake fluid reservoir next. Through the sight glass, confirm the level is between MIN and MAX. Dark, murky fluid? That’s moisture contamination and needs a flush. In stop-start Malaysian traffic, fresh fluid prevents brake fade when you need to stop quickly.
If you can see the brake pads, check the friction material thickness. Less than 2mm means replace them; otherwise you risk scoring the disc, turning a cheap job into an expensive one.
While you’re at it, verify the brake light works with both levers and the foot pedal. Stand behind the bike or look for the red glow reflecting off a wall. A burnt-out brake light invites rear-end collisions, especially in low-light conditions like evening rides home from work.
Once you move off, apply the brakes gently at low speed and listen. A metallic grind means pads are worn out and ruining the disc. A persistent squeal could be glazed pads or trapped debris. Either sound means park it and get the brakes sorted before heading into traffic.
Lights & Signals – Be Seen and Communicate
Malaysian roads demand that you’re seen, especially when rain, dust, or dusk cuts visibility. Before you twist the throttle, spend thirty seconds walking around your scooter and activating every light.
Check your headlight’s high and low beams—both should throw a clean, bright path. Flick the turn signals left and right while glancing at the front and rear indicators; a fast blink often means a bulb is out. Squeeze the front brake lever and then the rear brake pedal to confirm the brake light glows instantly. Don’t skip the tail light and the small licence plate lamp at the back—police stops for a dead plate light are avoidable. If lenses look hazy or mud-splattered, a quick wipe with a cloth or even your glove keeps the output strong.
Fluids & Leaks – A 30-Second Scan
Before you swing a leg over, crouch and glance under the bike for fresh puddles of oil, coolant, or brake fluid—a small drip can signal trouble. Check the engine oil via the dipstick or sight glass with the bike upright. Confirm the coolant reservoir is between min and max, and glance at the brake fluid reservoirs to ensure the fluid is visible.
Controls & Cables – Feel for Free Play
Twist the throttle and let go—it should snap back crisply without sticking. Squeeze the clutch lever; engagement must be smooth with about 5mm of free play, no grabbing or excessive slack. Quickly tap the kill switch and, if your bike’s carbureted, the choke to confirm they work. Then nudge the mirrors into position and give them a wiggle to ensure they’re tight.
Your 5-Minute Routine (Cheat Sheet)
Tire pressure and tread, brake feel and fluid, all lights, leaks, controls, and a final walkaround.